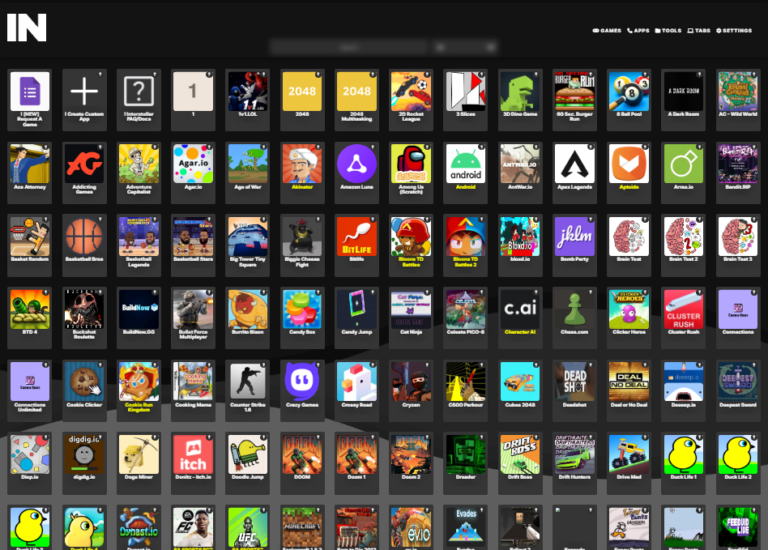
How to Make Interstellar Links Using Koyeb
If you’re looking for a simple way to create your own Interstellar links to access blocked sites at school or work, you’re in the right place. In this guide, we’ll walk you through how to make Interstellar links using Koyeb — a free cloud hosting platform that’s perfect for deploying your own proxy. Even if you’re a complete beginner, you’ll be able to set everything up by following these steps carefully.
Let’s get started!
Step 1: Set Up Your GitHub Account
First, you’ll need a GitHub account. GitHub hosts the code you’ll deploy to Koyeb.
Sign up for GitHub: Go to GitHub Signup and create a free account if you don’t already have one.
Complete the setup: Confirm your email, set up your profile, and finish the signup process.
Step 2: Fork the Interstellar Repository
Now you’ll need a copy of the Interstellar project.
Go to the Interstellar GitHub page.
Click the Fork button at the top right to make your own copy of the project.
After forking, go to Settings of your forked repository.
Scroll down and enable “Template repository”.
This step allows you to easily clone the project in the next phase.
Step 3: Create a New Repository from the Template
Now, create your personal repository:
Go back to the Code tab on your fork.
Click Use this template > Create a new repository.
Important:
Name your repository something unrelated to proxies.
Example names:
notepad-online,my-cool-project,studyhub123.
Click Create repository.
Wait until the loading process finishes completely before moving forward.
Step 4: Sign Up for Koyeb
Next, you’ll deploy your Interstellar link using Koyeb.
Visit Koyeb Signup to create an account.
Use a real email (like Gmail). Avoid shady temporary emails because Koyeb often bans temp domains.
Need a temporary email fast? Try services like:
Tip: Even if you use a temporary email, make sure it looks professional or Koyeb might block you.
Step 5: Complete Your Koyeb Account Setup
After signing up:
For Organization Name, you can enter anything (example:
myteamorcloudgang).Under “I’m using Koyeb for”, select any option (it doesn’t matter much).
Click Next and finish setting up your account.
Step 6: Deploy Your Interstellar Link
Now it’s time to bring your project online.
From the Koyeb dashboard, click Create Service.
Choose GitHub as the deployment source.
Click Install GitHub App when prompted.
Log in to GitHub, and authorize Koyeb to access your GitHub repositories.
Select your newly created repository (the one based on Interstellar).
For configuration:
Select CPU Eco plan.
Choose the Free option.
Click Next.
Optional:
You can change the Service Name if you want — this will be part of your Koyeb link URL.
Finally, click Deploy and wait for the process to finish.
Deployment usually takes just a few minutes.
Congratulations! 🎉
You have successfully created your own Interstellar link using Koyeb! Once deployment finishes:
You’ll get a free link you can use to access the Interstellar proxy.
Bookmark the link so you can access it easily later.
Important Tip:
Do not share your link publicly if you want it to last longer. The more private it is, the less likely it will get reported or taken down.
Final Notes
Making your own Interstellar proxy link with Koyeb is not only easy but also free. It gives you more control over your browsing experience without relying on public proxies that can be slow or unsafe. Plus, if your link ever stops working, you now know how to create a new one in just a few minutes!
Stay safe, browse smart, and enjoy your new private Interstellar access! 🚀


